

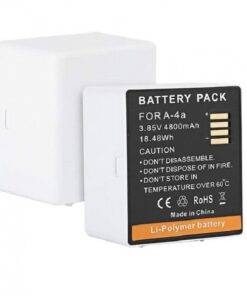
 Arlo Pro 3 / Ultra 2 / Pro 4 Ultra Camera Rechargeable Battery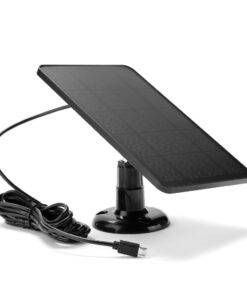


4W Solar Panel Charger for Security Cameras, IPX6 Waterproof
Fast delivery from our Auckland warehouse
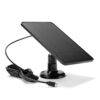
This 4W solar panel for security camera keeps your outdoor cameras running without battery changes or wired power. The high-efficiency monocrystalline silicon cells deliver reliable charging even on overcast NZ days, and the IPX6 waterproof rating means it handles rain and wind without issues.
Why Choose This Solar Charger
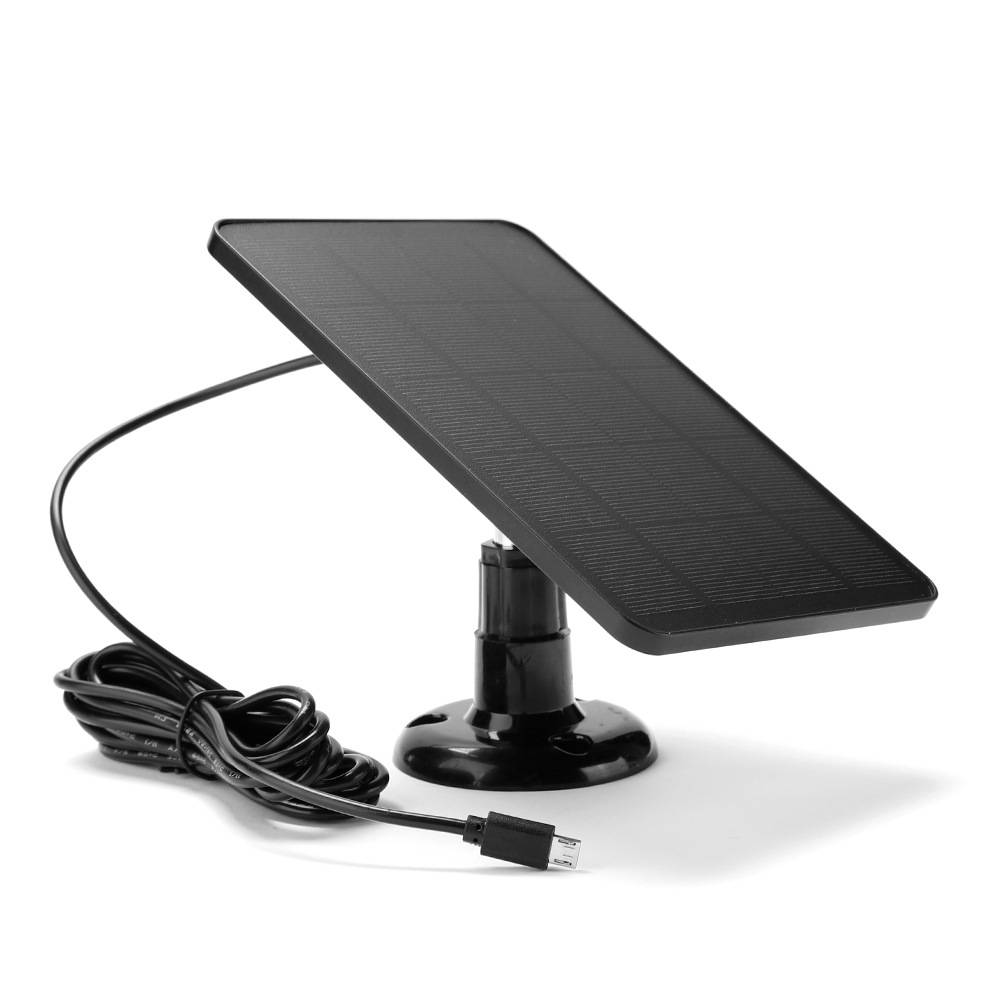
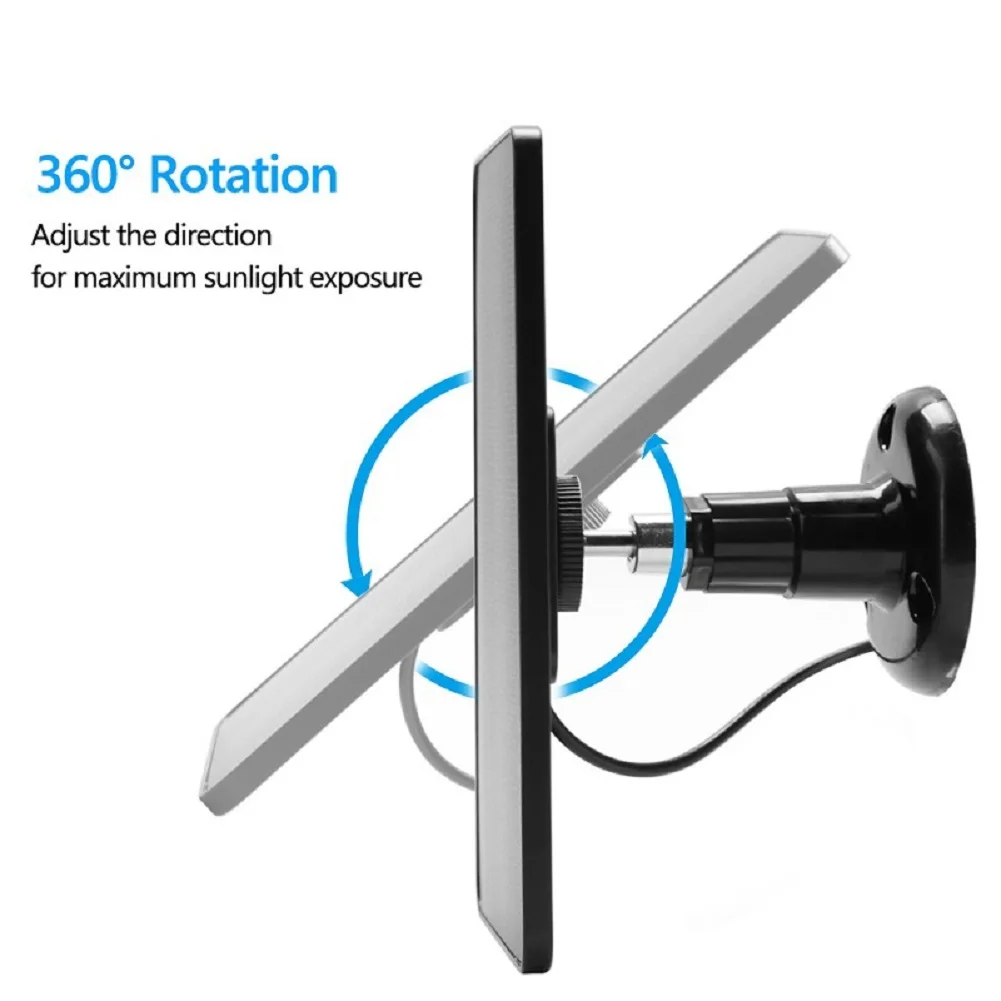
The 360-degree mounting bracket lets you angle the panel for maximum sun exposure, and the 3M charging cable gives you flexibility in where you position the panel versus the camera. It works with most outdoor security cameras via Micro USB or Type-C, so you probably do not need to buy a new camera to go solar.
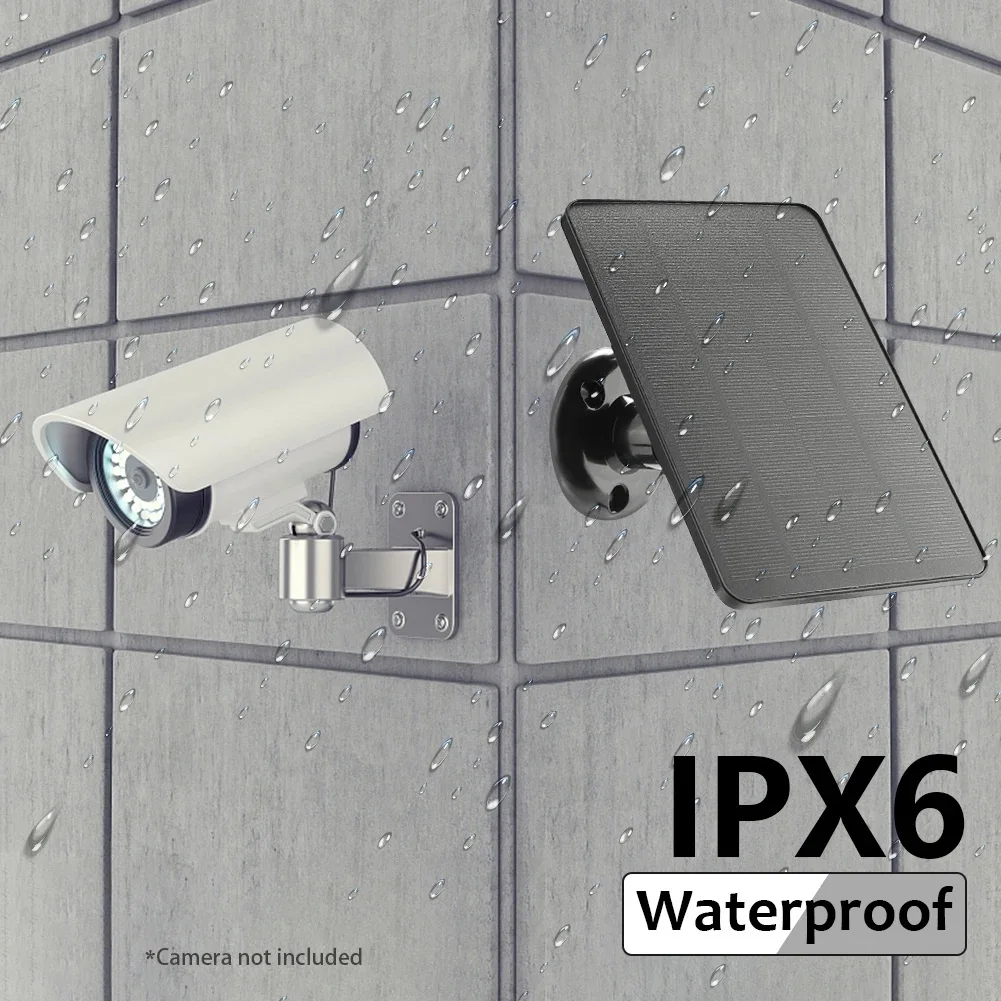
- IPX6 waterproof, handles NZ rain, wind and all weather
- Monocrystalline silicon cells, charge even in low sunlight and overcast conditions
- Universal compatibility, Micro USB and Type-C output via included converter
- 360-degree adjustable mount, position for best sun exposure all year
- 3M charging cable, flexible placement of panel and camera
- ABS and PC construction, built to last outdoors for 5+ years
How the Solar Panel Works
The 4W monocrystalline panel converts sunlight into 6V output at up to 580mA, which is enough to trickle-charge most 3V to 6V security camera batteries through the day. Even on a cloudy Auckland winter day, the panel still produces around 25 to 40% of its rated output, which is usually enough to keep a low-power camera topped up.
- Monocrystalline silicon, the most efficient solar cell type at 18 to 20% conversion rate
- 6V operating voltage, charges 3V to 6V battery systems safely
- 580mA maximum output, enough to fully charge a typical camera battery in 1 to 2 sunny days
- ABS and PC housing, UV-stable plastic that does not yellow in NZ sun
How to Install the Solar Panel
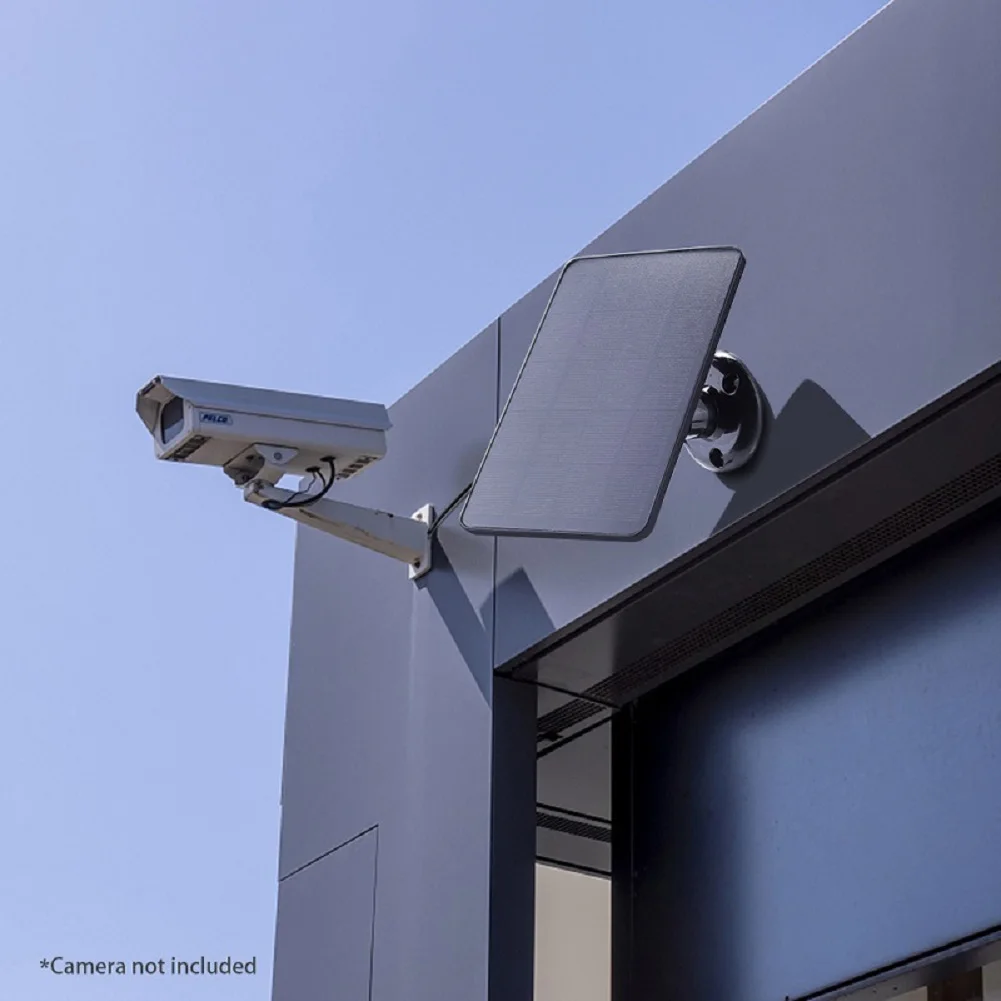
Installation takes around 10 minutes. Mount the bracket on a wall or pole, attach the panel, angle it toward the sun, and run the 3M cable to your camera. Plug the Micro USB or Type-C end into the camera and you are done.
- Step 1, choose a spot that gets at least 4 hours of direct sunlight per day
- Step 2, screw the 360-degree mounting bracket to a wall, fence, or pole
- Step 3, attach the solar panel to the bracket and angle it north in the southern hemisphere
- Step 4, run the 3M cable to your camera, using the Micro USB or Type-C connector
- Step 5, check the camera status light to confirm charging is active
Where to Mount It
The 360-degree bracket and 3M cable give you flexibility. The panel can go on the roof, on a fence post, or on a wall mount, and the camera can be positioned up to 3M away for the best viewing angle.
- House eaves and soffits, common spot for front door cameras
- Garden walls and fences, ideal for backyard or driveway cameras
- Garage and shed roofs, rural properties with outbuildings
- Carport and gate posts, good for entrance cameras
Specifications
What is in the Box
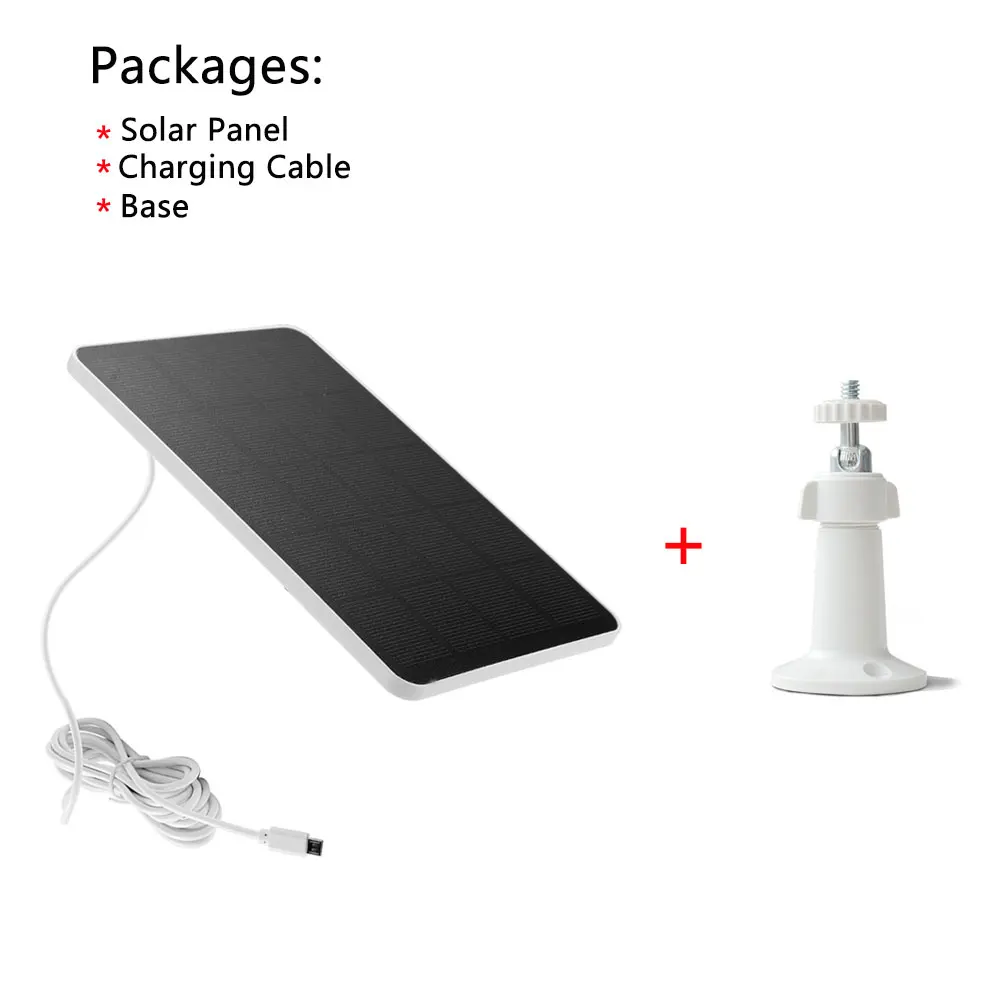
Everything included in this package.
- 1 x CCTV Camera Chicks
Full details listed below.
- Solar panel power: 4W
- Operating voltage: 6V (charges 3V to 6V battery systems)
- Output current: 580mA maximum
- Charging interface: Micro USB (Type-C converter included)
- Cable length: 3M
- Colour: black
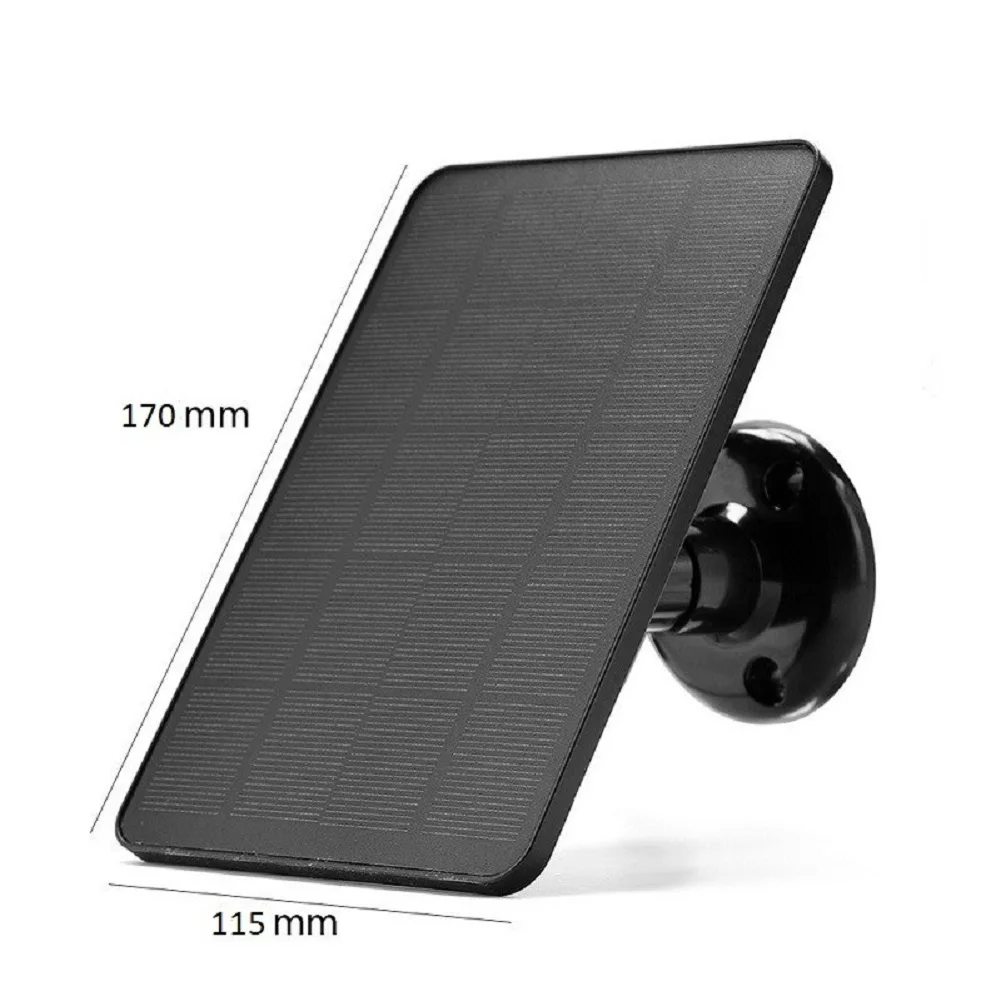
- Product size: 175 x 120 x 15mm
- Waterproof rating: IPX6 (protected against heavy water jets)
- Operating temperature: -20 degrees C to 60 degrees C
- Housing material: ABS plastic and polycarbonate
Frequently Asked Questions
- Which security cameras are compatible with this 4W solar panel charger?
This solar panel works with most outdoor security cameras via Micro USB or Type-C output using the included converter, so you likely do not need to purchase a new camera to go solar.
- Will this solar panel work during cloudy New Zealand winter days?
Yes, the high-efficiency monocrystalline silicon cells produce around 25 to 40% of their rated output even on cloudy Auckland winter days, which is typically enough to keep a low-power camera battery topped up.
- What output voltage and current does this panel produce for charging cameras?
The 4W monocrystalline panel produces 6V output at up to 580mA, safely charging 3V to 6V battery systems typically found in security cameras.
- How should I angle the panel in the southern hemisphere for maximum sun exposure?
Angle the panel toward the north in the southern hemisphere and position it to receive at least 4 hours of direct sunlight per day for optimal charging performance.
- How long does installation take and what is involved?
Installation takes approximately 10 minutes: mount the 360-degree bracket to a wall, fence, or pole using screws, attach the panel, angle it toward the sun, and connect the 3M cable to your camera using the Micro USB or Type-C connector.
- What does the IPX6 waterproof rating mean for outdoor use in New Zealand?
The IPX6 rating means the panel is protected against powerful water jets, so it handles New Zealand rain, wind, and all-weather conditions without issues.
- How long is the included charging cable and how far can the panel be positioned from the camera?
The panel includes a 3M charging cable, allowing flexible placement with the panel up to 3M away from the camera for optimal positioning and viewing angles.
| Weight | 1.5 kg |
|---|---|
| High-concerned chemical | None |
| Size | 170*115*10MM |
| Material | Monocrystalline Silicon |
Only logged in customers who have purchased this product may leave a review.
Related products




Reviews
There are no reviews yet.